A few months ago, I got the (very funny) idea to make a dress in the style of the ubiquitous hi-vis vest.
I originally wanted to make and wear this for EMF Camp 2024, but I ran out of time, and picked up the idea again right ahead of the Helsinki Pride 2024 march.
Why is this idea so funny to me? I don't know. Maybe it's the juxtaposition between the "serious business" vibe implied by the hi-vis fabric and reflectors, and the relaxed and free vibes shown by the summery sundress shape.
I noticed that opinions on this dress were roughly divided into two camps: those who didn't exactly get it, and those who found it really funny.
Regardless, my first step was to figure out whether I can even purchase that neon high-visibility fabric anywhere. It just took me about 2 minutes of searching the internet to find out that my local chain fabric store sells this stuff.
This stuff is somewhat water-resistant and tough, which was not ideal for my purposes, but we suffer for the art we make, right?
Planning
Now that I had the material, I started thinking about the general concept I want to create.
I don't usually create detailed patterns, but I do make simple sketches to visualize my ideas before making them.
I wanted a simple and short-ish dress with a circle skirt portion. I think it ends up pretty cute and funny when combined with the industrial look of hi-vis.
One very important part to me is having a massive zipper all the way down the front. This fits that “industrial” look pretty well, and in my opinion makes the contrast even more obvious and funny.
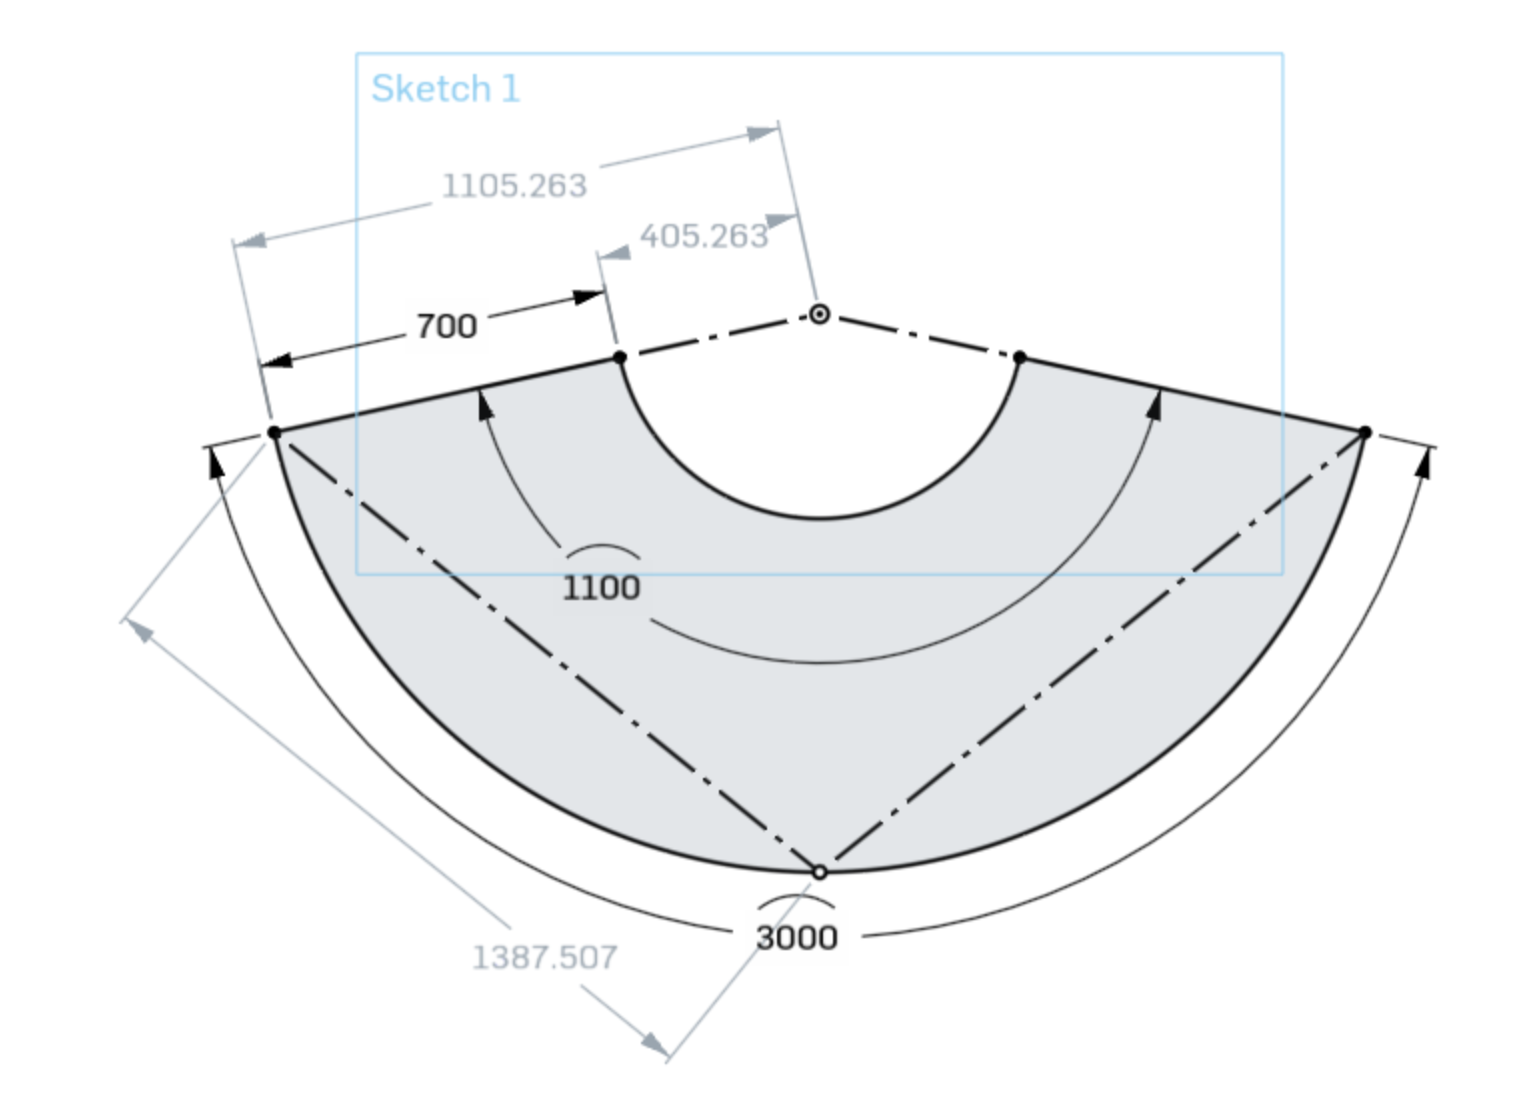
This time around, I did use CAD to create a detailed plan for the circle dress portion.
Making
After making enough plans for now, I started making the dress according to my usual process.
First of all, I cut out the skirt pieces exactly according to that CAD drawing. I then traced a T-shirt to create the upper pieces.
I've done the "trace a T-shirt" process so many times, and it always works remarkably well. Basically I just grab a T-shirt that fits snugly, turn it inside out, trace it onto my fabric, and maybe customize the shape according to what I'm looking for that time.
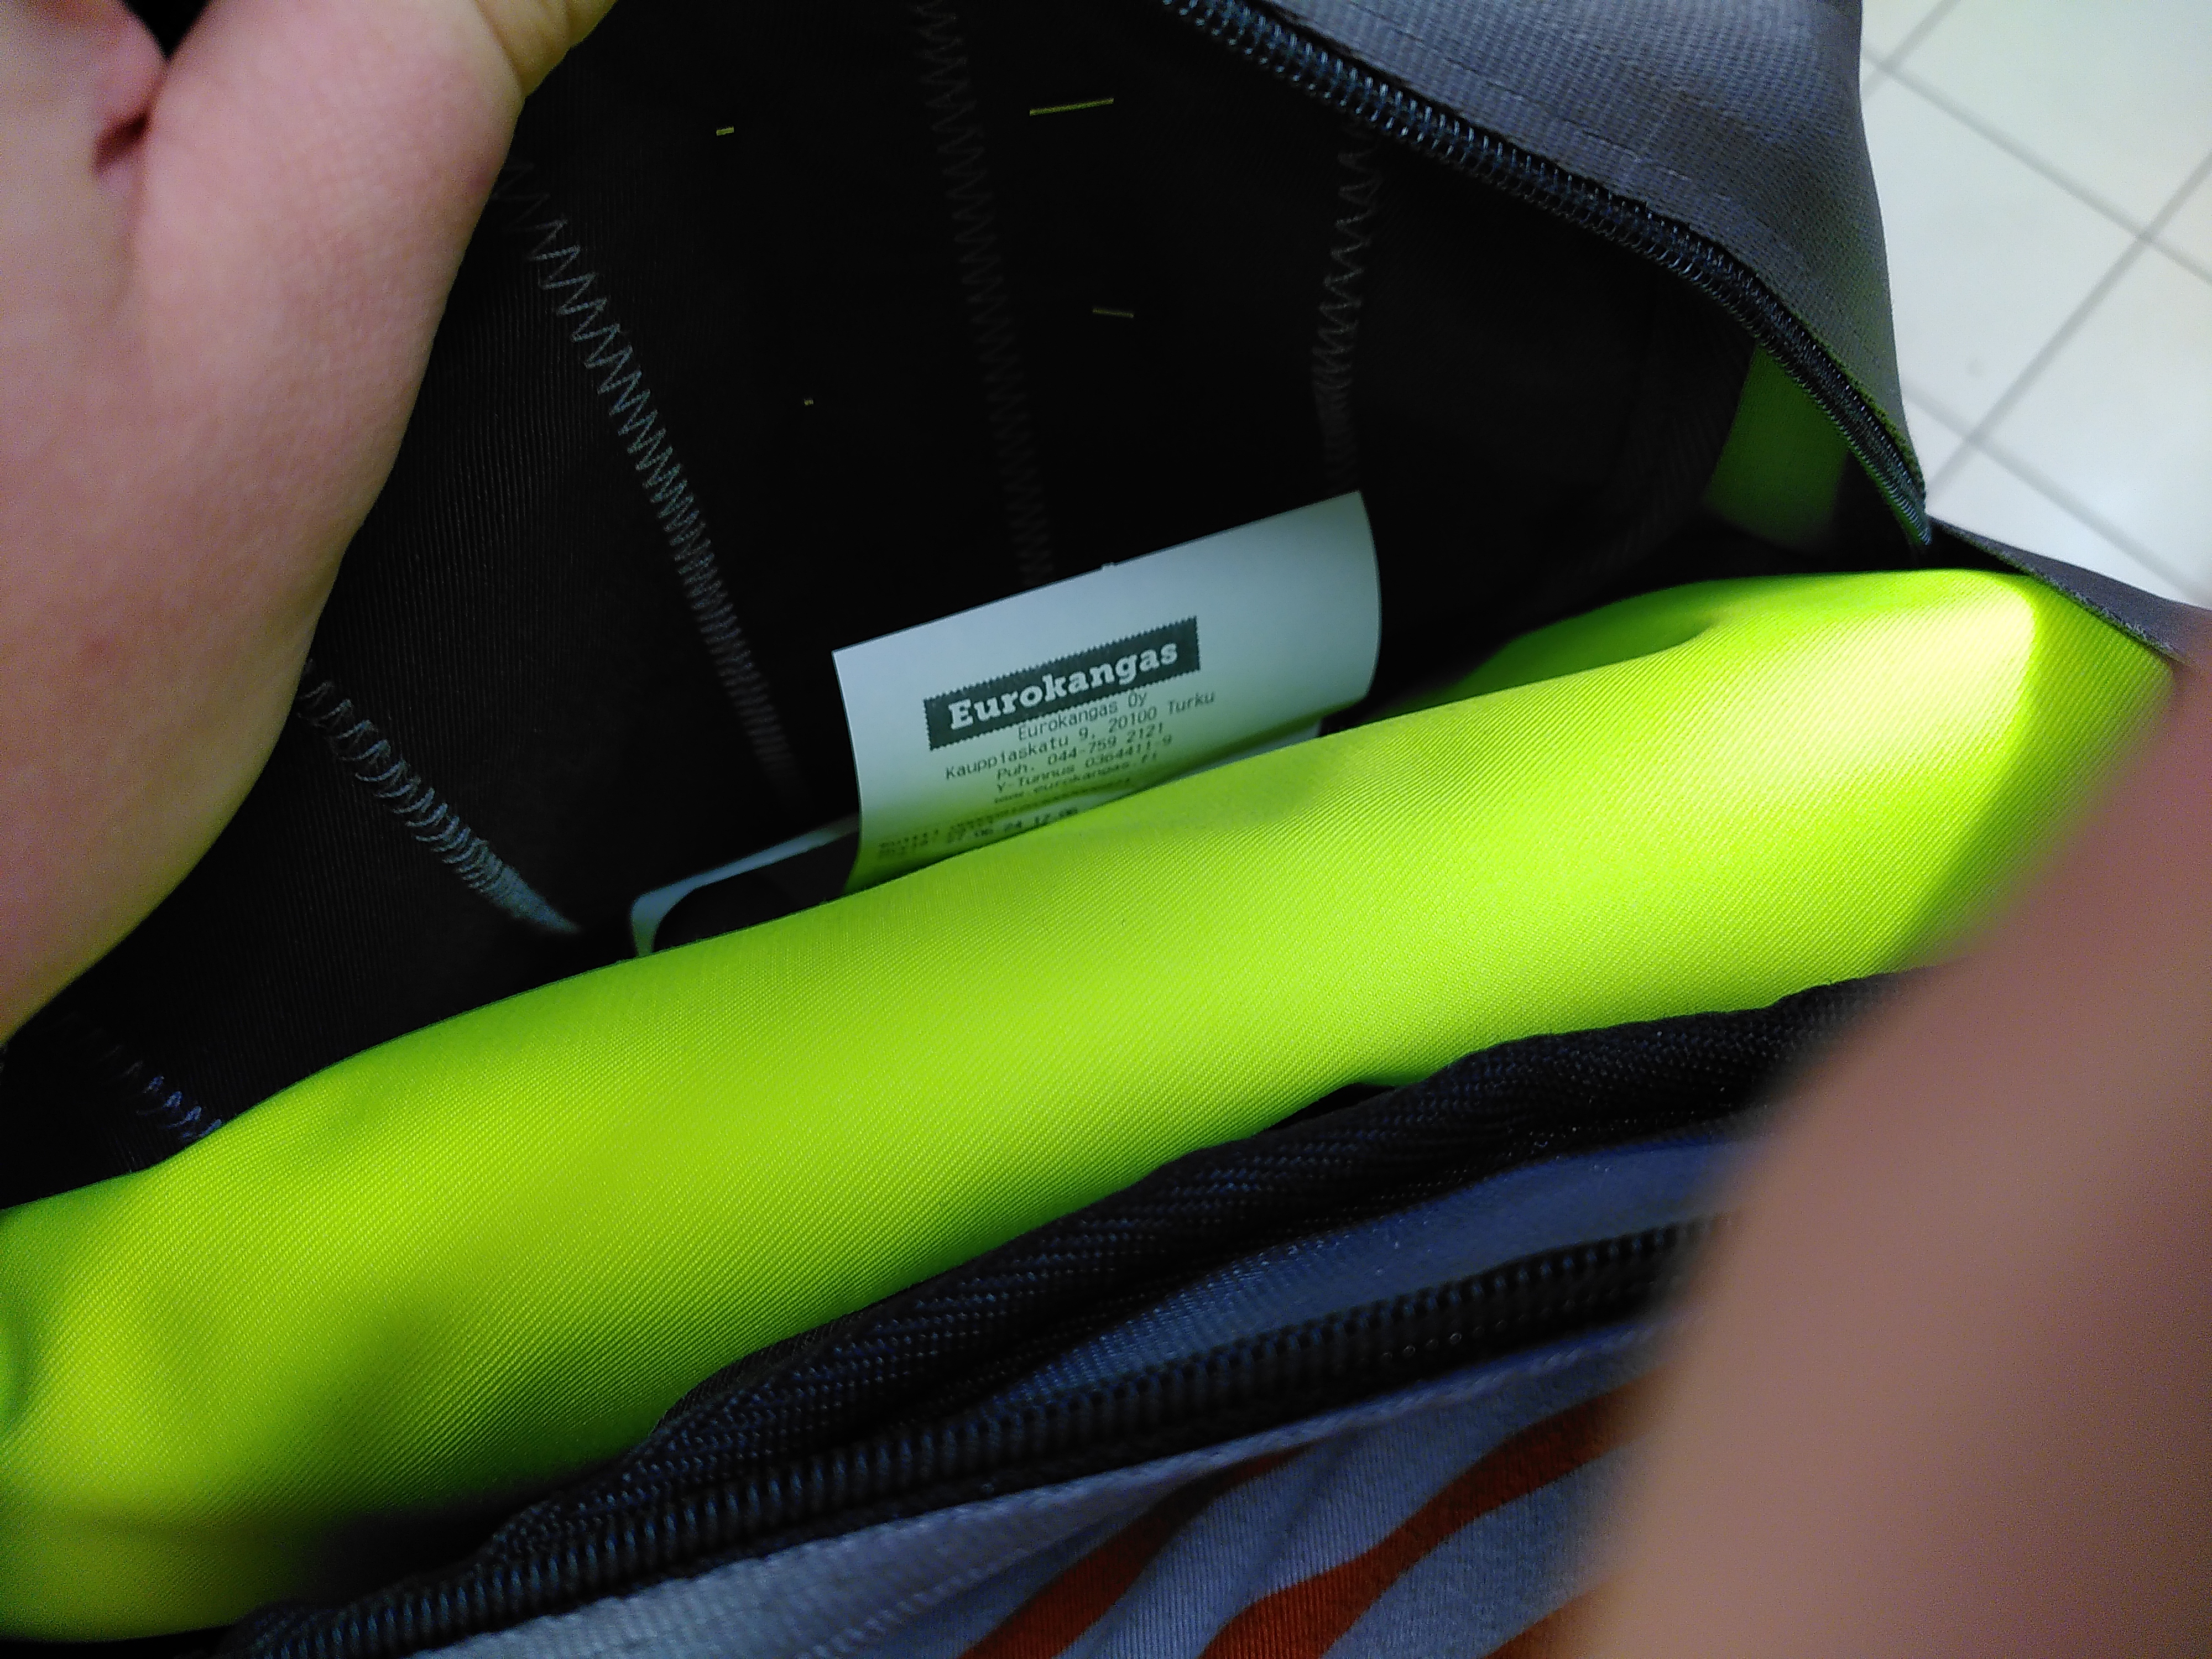
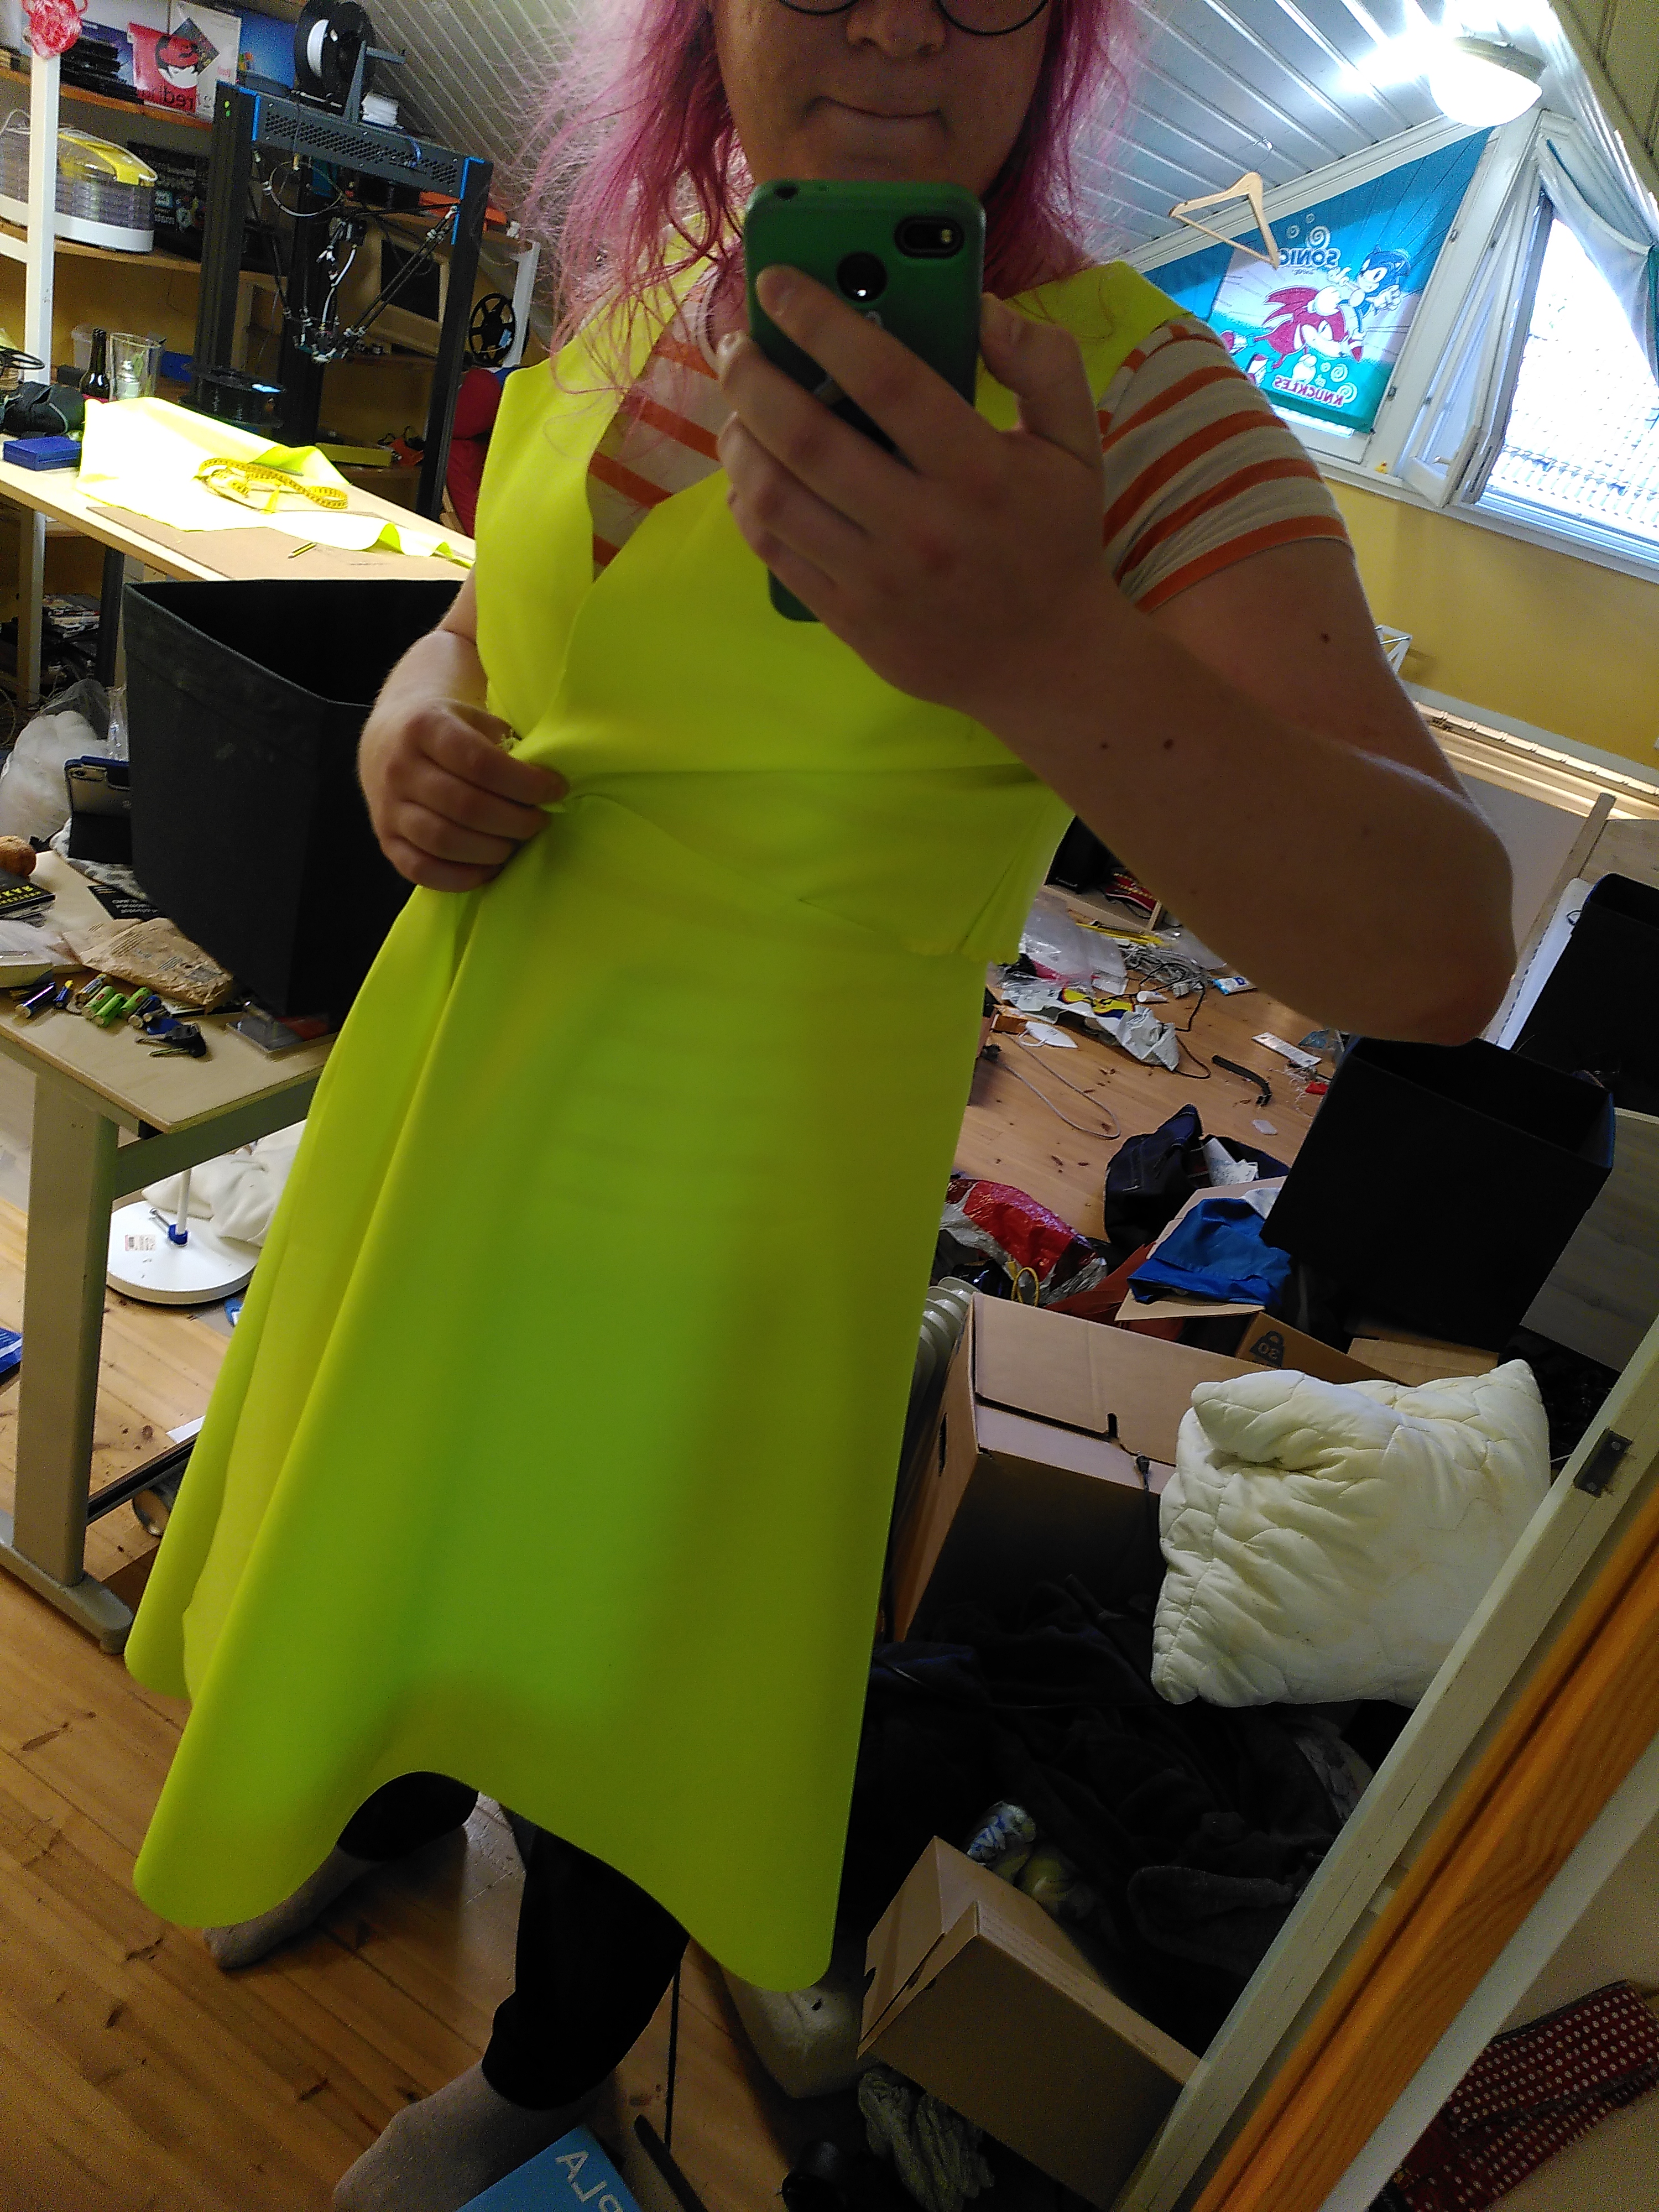
Mostly done.
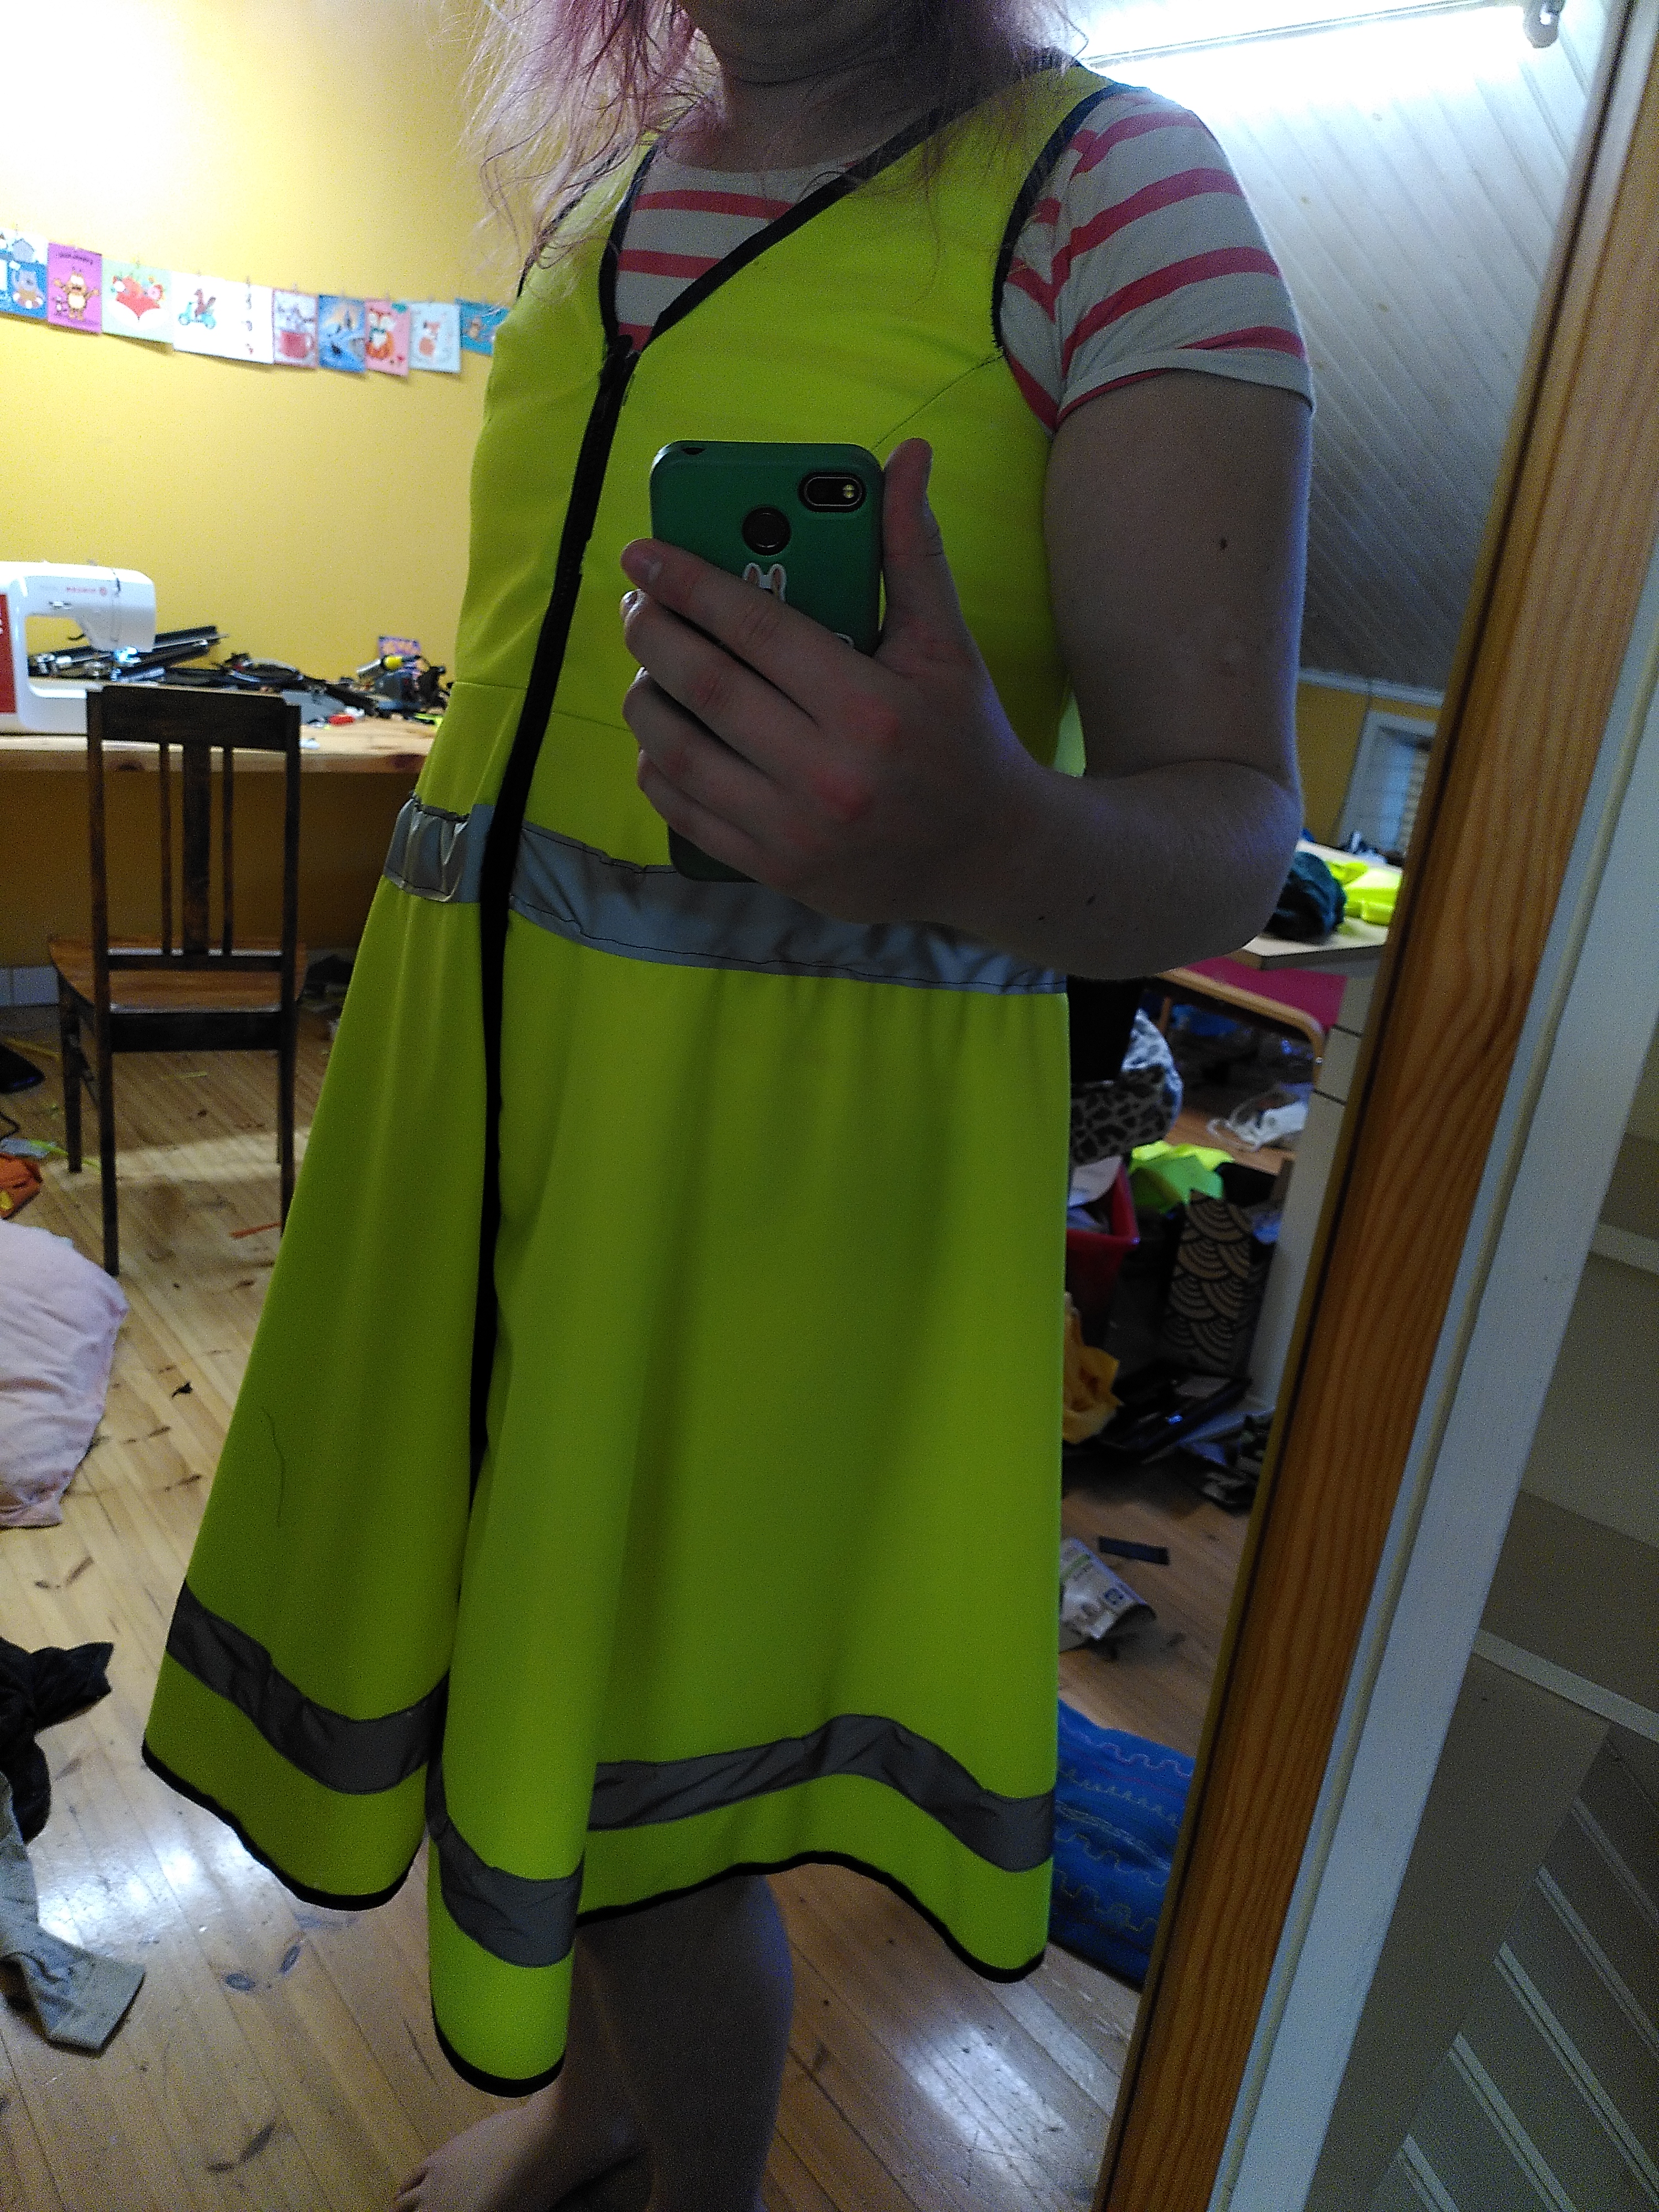
Next steps: attaching the zipper to the front, sewing stylish black bands around all the edges, and adding reflector bands.
Notice that attaching straight reflector bands to a circular skirt (without planning ahead) made it crumple up very badly in some places. It's fine.
Wearing
It was time for Helsinki Pride 2024, and I woke up very early in the morning. The first things I noticed while on the bus to Helsinki was that this fabric smells (I had forgotten to wash it, or even check whether it's possible to wash) and that it doesn't breathe at all. It definitely wasn't too comfortable.
Things got better when I got outside. Even in the direct sunlight outside all day, it never got super warm or sweaty, despite not breathing at all. Its toughness and resistance to dirt made it pretty comfortable for sitting down on the ground!
It's me! If you pay attention during that video clip, you'll notice some of the seams are already giving up. I was definitely rushing some things during the making of this dress, but given that I want to keep it around for the future, I'll simply be repairing those.
Conclusion
This project was fun and quick to make, and a lot of people liked the result! I should have executed with a bit more care though.
As far as I know this was true, and I had a Wii U gathering dust at home. The Wii U was Nintendo's flawed and unpopular, yet beloved 2012 home console, which has since become relatively popular to write homebrew software for.
In late 2023, right after losing my job, I had very quickly become familiar with the demoscene thanks to my friend RaccoonViolet, with whom I traveled to a lot of parties through the end of the year. I was also acquainted with the Slipstream demo group through Violet, so at some point I just told them that the Wii U is a potential demo platform.
Figuring out the hardware
No concrete plan, but I started looking into how to make Wii U homebrew. Setting up devkitPro with wut (the Wii U homebrew library) was easy enough, modding the console to make it run homebrew was also a piece of cake, so no problem getting a little Hello World running on both the emulator and on real hardware.
How about using the GPU? This was a bit more complicated. The GPU in the Wii U is called the GX2, and as a fun fact, the GX2 is part of AMD's Radeon R7xx GPU family, which places the hardware capability at basically the same as a late 00s/early 10s Radeon GPU. So that means you write shaders for a dynamic pipeline, like in any typical OpenGL 2/3 app, right? Well...
There's no shader compiler at all on the Wii U. Usually on a PC, the GPU driver contains a compiler for GLSL shaders, the app supplies a shader in source code form (nowadays sometimes in SPIR-V form), and the GPU driver compiles it to GPU machine code. On the Wii U though, the GX2 driver expects you to provide your shaders already compiled into GPU machine code.
Makes sense since the hardware target is totally static, but... Nintendo-licensed developers got a shader compiler tool from Nintendo to use for this purpose, but as homebrew developers we can't use this.
Let's ignore the fact that the Wii U SDK iswas available on the Internet Archive at the time.
There were a couple different examples of homebrew apps using the GX2 online, but all of these just distributed a few precompiled shaders as they are. Not helpful. I started reading the (publicly available) AMD docs for GPU shader assembly language, and was just about ready to give up on the whole thing, when I found out that CafeGLSL had just been published a short while before (I was doing this in October of 2023).
CafeGLSL
As I mentioned above, GX2 is part of the Radeon GPU series made by AMD. It turns out that it's so similar to the PC Radeons of the time, that the Linux radeon driver (the open source Mesa driver, which is also the official driver from AMD) contains a GLSL compiler that works on this GPU. What was left for Exzap and Crementif to do was to extract the shader compiler from the Linux driver, and turn it into a library that can be used by Wii U homebrew apps. When I found this out I couldn't believe it at first, but yes, this basically solved the biggest missing piece of the puzzle for homebrew developers to be able to (easily) use the GPU on the Wii U. Thank you, Exzap and Crementif! Without CafeGLSL this project would have died right here.
I did have to investigate and piece together a lot of information to figure out how to use it, because there was very little in way of documentation or examples, but it wasn't too much of a problem.
Getting the actual demo started
So I produced a very simple Wii U homebrew example featuring GX2 and CafeGLSL to show my new friends my findings of how it works. The example code was picked up by Aldroid, and soon halcy, both of whom put in a lot of work to expand my tiny GX2 example into more of a fully featured demo engine, featuring FBX model loading and rendering, lighting and postprocessing effects, as well as music playback.
That rim lighting plus bloom effect that Nintendo (over)uses every time is pretty simple but it works! Add depth of field into the mix and you've got a stew going.
While the code was getting started, we thought about direction and style for the demo. Inspired by Molcar and every Nintendo game of this era (especially Yoshi's Woolly World), Mrs Beanbag made some sketches of a plushie land with a plushie train running through it. Violet got to work making 3D models based on these sketches, and I got started texturing them. As soon as we got a couple of these rendering in the Wii U code, it was clear to everyone that we were nailing the visual style we were going for.
After this, most of my work went into making textures for all of the models. It was a fun experience to use digital drawing tools (something I have a lot of experience with) to make 3D textures (something I've never done before). All of my textures were drawn using Krita in 2D. For a more complex model I probably would have tried learning the 3D painting tools in Blender, but for these models it felt just right to export the UV layout from Blender and paint over it in Krita.
The last code contribution I did was to write the font loader/text generator. We wanted to have 3D letters in a similar style as the rest of the plushie models. Violet made a 3D model with a bunch of characters from an appropriate-looking font, and I took one night to write custom code, loading each of the characters as a separate mesh, and then generating 3D objects from strings that could be placed inside the scene.
Mrs Beanbag and Aldroid continued laying out the scene and creating the entire animation while on their way to the party. Speaking of which...
The party
The party was Revision 2024. I unfortunately could not afford to go there in person, but the rest of the gang all was present. I was remotely present by watching the stream all weekend.
We continued to put the finishing touches on our demo while the party was already going on. The sign post and toast rack, as well as the ending scene with the eepy train, went in right before the deadline (and I'm happy we managed to get them in).
Sunday, time for the Wild compo, time for demo release!
I was really happy with the way it turned out, and we got a nice reception from the audience as well. We placed 6th in the compo.
Thank you to Aldroid, Mrs Beanbag, halcy, and Violet for the whole project, the 4TU community for being a helpful Wii U homebrew community, and Exzap and Crementif for CafeGLSL! Extra thanks to Violet for getting me (back) into the demoscene, and making my last ~year or so a wonderful time!